Ever found yourself in a situation where you wish you could capture that epic gaming moment or a hilarious TikTok reaction? With the iPhone’s screen recording feature, you can turn those fleeting moments into lasting memories. It’s like having a magic wand that lets you save everything from video calls to app tutorials, all with just a few taps.
Understanding Screen Recording on iPhone
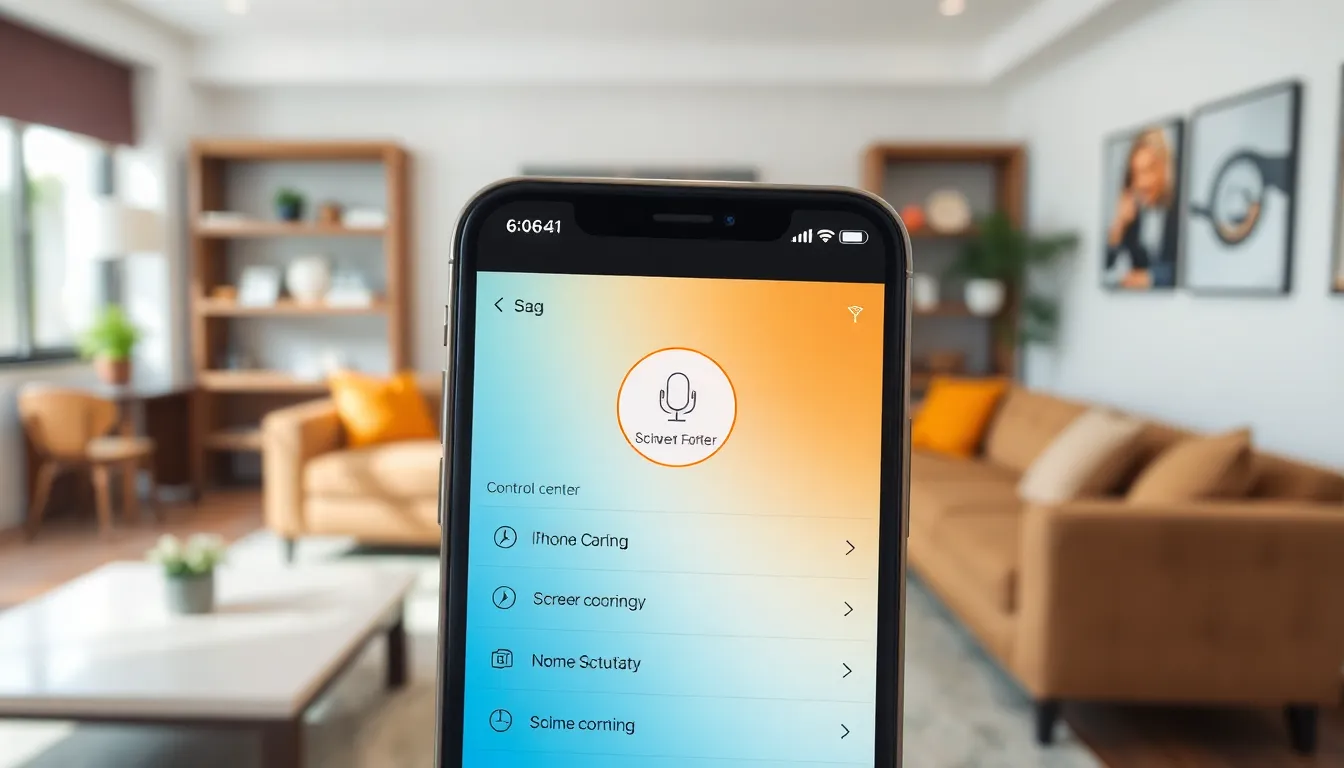
Screen recording on iPhone enables users to capture moments effortlessly. This feature is accessible directly from the Control Center, making it convenient to start and stop recordings. Users can record their screens for various purposes, such as creating tutorials, sharing gameplay, or documenting app usage.
An essential part of using screen recording involves enabling it first. To do so, navigate to Settings, tap on Control Center, and add Screen Recording to the included controls. Once added, a simple swipe into the Control Center reveals the recording option.
The recording process is straightforward. Users can tap the Screen Recording icon to start capturing their screens. A three-second countdown icon appears, indicating the recording has begun. During this time, users can navigate to the desired app or activity to capture.
Audio recording is also an available function. Users must press and hold the Screen Recording icon to access this feature. By turning on the microphone, users can include voiceovers or other sounds, enhancing the recordings’ quality.
Saved recordings appear in the Photos app, where users can review and edit them. Trimming unnecessary segments is possible to focus on the most pertinent content. Additionally, sharing recordings via social media or messaging platforms is seamless.
Understanding these aspects makes screen recording an invaluable tool on the iPhone. Efficiently capturing and sharing experiences enriches the user interaction and enhances communication with others.
How to Enable Screen Recording
Enabling screen recording on an iPhone requires a few simple steps. Users can easily access this handy feature through the device’s Control Center.
Accessing Control Center
To access Control Center, swipe down from the top-right corner of the screen. The screen displays several icons representing different functions. Users will find the screen recording icon, shaped like a circle within a circle, here. If the icon isn’t visible, it can be added in the Settings.
Adjusting Settings for Screen Recording
Adjusting settings for screen recording enhances the overall experience. Navigate to Settings, then tap on Control Center. From there, select Customize Controls. Users can add screen recording to include it in Control Center. For those wanting to record audio, they’ll need to press and hold the screen recording icon to enable the microphone option. This simple adjustment allows users to capture both screen activity and voiceovers, ensuring comprehensive recordings.
Steps to Record Your Screen
Capturing the iPhone screen is simple and effective for recording various activities. Follow these steps for seamless screen recording.
Starting the Recording
Accessing the screen recording feature begins with swiping down from the top-right corner of the screen to open the Control Center. Look for the screen recording icon, which resembles a circle within another circle. If it isn’t visible, go to Settings, then Control Center, and add the screen recording option. Once the icon appears, tap it to initiate recording. A countdown timer displays on the screen, signaling the start. For audio capture, press and hold the screen recording icon, and then tap the microphone icon to enable sound. After all settings are adjusted, begin your recording effortlessly.
Stopping the Recording
To stop the recording, open the Control Center again by swiping down. Tap the screen recording icon, and the recording ends instantly. Alternatively, tapping the red status bar at the top of the screen provides an option to finish the recording. A confirmation prompt appears asking if you want to stop. Confirming stops the recording without additional steps. Saved recordings automatically transfer to the Photos app, allowing for easy review and editing.
Tips for Effective Screen Recording
Utilizing the right techniques enhances the screen recording experience on an iPhone. Following a few suggestions can significantly improve the quality of recordings.
Audio Options
Selecting the appropriate audio option elevates recordings. Users can easily capture internal audio by ensuring that the microphone is turned on. By pressing and holding the screen recording icon in the Control Center, users can enable this feature. This allows for clear commentary during gameplay or tutorials. It’s crucial to test audio levels prior to recording, ensuring a balanced output that doesn’t overshadow the visual content.
Editing Screen Recordings
Editing options can refine recorded videos. After capturing a screen recording, users find it in the Photos app for review. Tapping “Edit” allows users to trim excess footage from the beginning or end. Adding text or drawings makes recordings engaging by emphasizing key points. Moreover, users can adjust the video’s exposure and colors, creating a polished final product. This flexibility encourages customization, catering to unique needs and enhancing viewer experience.
Screen recording on the iPhone transforms how users capture and share their experiences. With its user-friendly interface and versatile features, it’s an invaluable tool for anyone looking to document moments or create engaging content. Whether it’s a gaming highlight or a tutorial, the ability to record with audio adds a professional touch.
By following the simple steps to enable and customize screen recording, users can enhance their digital storytelling. The editing options in the Photos app further allow for personalization and creativity. Embracing this feature can lead to more dynamic interactions and richer communication in the digital space.